Lab 1 Linux Essentials
This first lab was a simple, easy to grasp introduction to Linux. It was not particularly challenging because of my prior experience with the terminal, but it served as useful preparation for the following labs. However, I should have taken more time to sharpen my skills using Stretch and Challenge.
Procedure
During this lab
-
The
lab1resources.zipfile was downloaded to my personal computer. -
The
lab1resources.zipwas uploaded to my DCS root directory usingscp lab1resources.zip url{u2014020@login-1.dcs.warwick.ac.uk:~/. -
A connection to DCS was established using
ssh
                                    u2014020@login-1.dcs.warwick.ac.uk
. -
The file was unzipped using
unzip lab1resources.zip. -
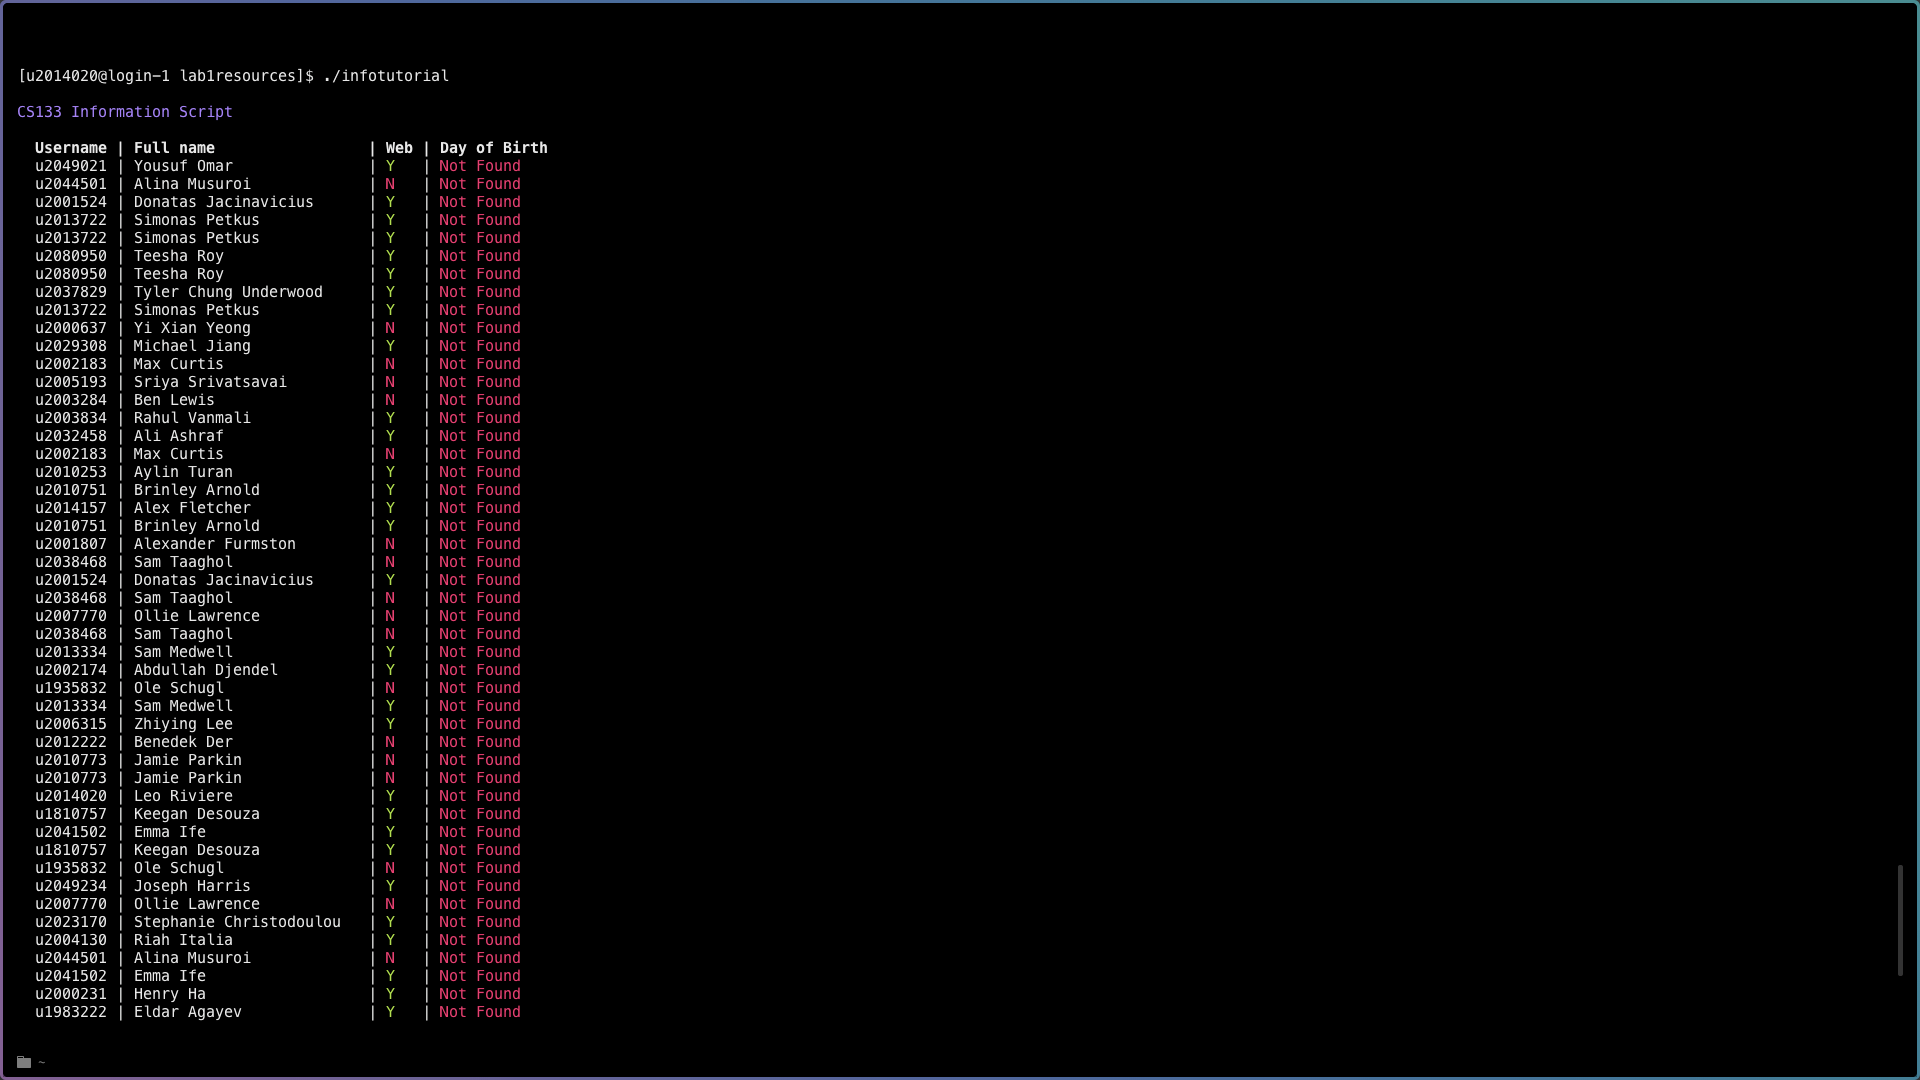
cd lab1resources && ./infotutorialwas used to change directories and run the script. -
Using
nano infotutorialthe source of the script was examined. -
Using
export MANPATH=$(man
                                    -w):~/lab1resources/man
, theinfotutorialman file was set and then confirmed withman infotutorial. -
The command
mkdir ~/public_html/was used to create a directory for my personal site. -
In
~/public_html/,nano index.htmlwas used to create and edit an HTML file for my personal site. -
The command
mkdir /cs133 && cd cs133was used to create and navigate to a CS133 folder. -
index.htmlandbackground.htmlwere created incs133/usingnano. -
Using
for i in {1..7}; do mkdir lab${i}; cp
                                    ~/lab1resources/weekly_entry.html
                                    ./lab${i}/index.html; cp
                                    ~/lab1resources/diary.css
                                    ./lab${i}/diary.css; done
, subdirectories for each week were created. -
In
cs133/, thenamefile was created usingecho "Leo Riviera" > name. -
Permissions were set using
chmod -R o+rX ~/public_htmlto make all assets publicly accessible and manually set permissions on the files and folders necessary to achieve Marking Point 1.1.
infotutorial script
Commands
New commands used during this lab included
-
scp, used asscp {fileToCopy} {user}@{host}:{host location}to securely copy a local file to a remote host. -
ssh, used asssh {user}@{host}, which allows a user to access the shell on a remote server. -
unzip, usedunzip {file}to unzip a file to a directory of the same name. The-dflag can be used to specify a destination directory. -
cd, used ascd {directory}to change directory. -
nano, used asnano {file}, to launch the nano file editor. -
export, used asexport {value}, to update the current shell's environmental variables. -
mkdir, used asmkdir {name}, to create a new directory. -
chmod, used aschmod {octal} {path}, to change a file or directory's modes, or filesystem permissions. Permissions can also be set recursively, using-R. -
ls, to list items in the current directory. Can be used with the flag-ato list hidden files and folders, or-lto list permissions.